

How Its Made
A shelf made from English Yew with a live edge & dovetailed Ash frame.
I quite often usually have some left over timber from projects that almost always go back on the timber rack. I had a couple of pieces of English Yew left from a project from a few years ago just gathering dust in the shop. Wanting to make space for extra wood, I wanted to do something with them before relegating them to the firewood pile.
Inspired by a technique that floated into memory from many many years ago I decided to turn them into shelves. The pieces I had left over were not not in the best of conditions hence why they were left over so I made the best of what I could. But before I go further in to the build first some details and a few facts about this beautiful and distinct wood.

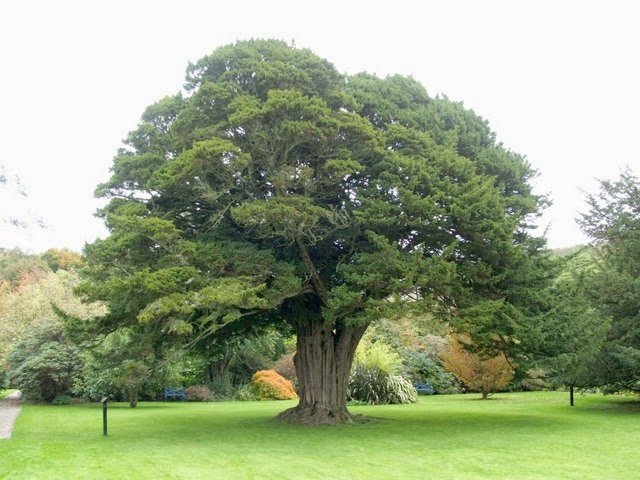
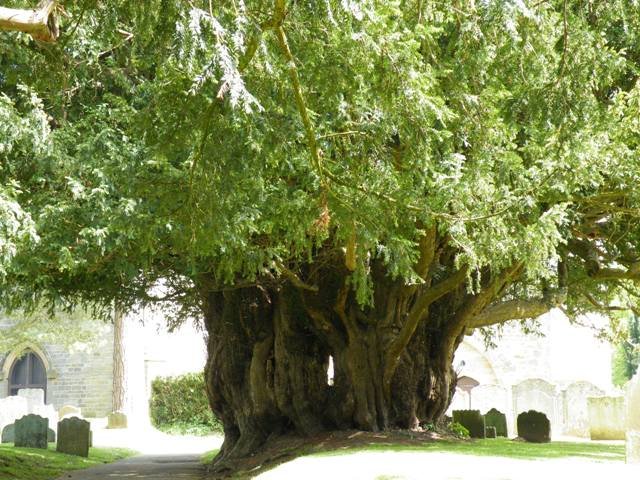
The Yew, tree of life and death, surrounded in lore and mythology, with branches that droop on old trees that can take root and form new trunks where they touch the ground. The Yew came to symbolise death and resurrection in Celtic culture. Many churches were built next to Yew trees which were places of worships with many Yews predating most of the buildings.
The Yew is a coniferous softwood though the timber is so hard and strong, you would be forgiven for thinking that it was a hardwood. European Yew, especially from Spain, was prized for its straight grain for bow making because it bent well. Today there is only a limited supply of wide, straight grained Yew with narrower branches with roundwood being favoured by turners.
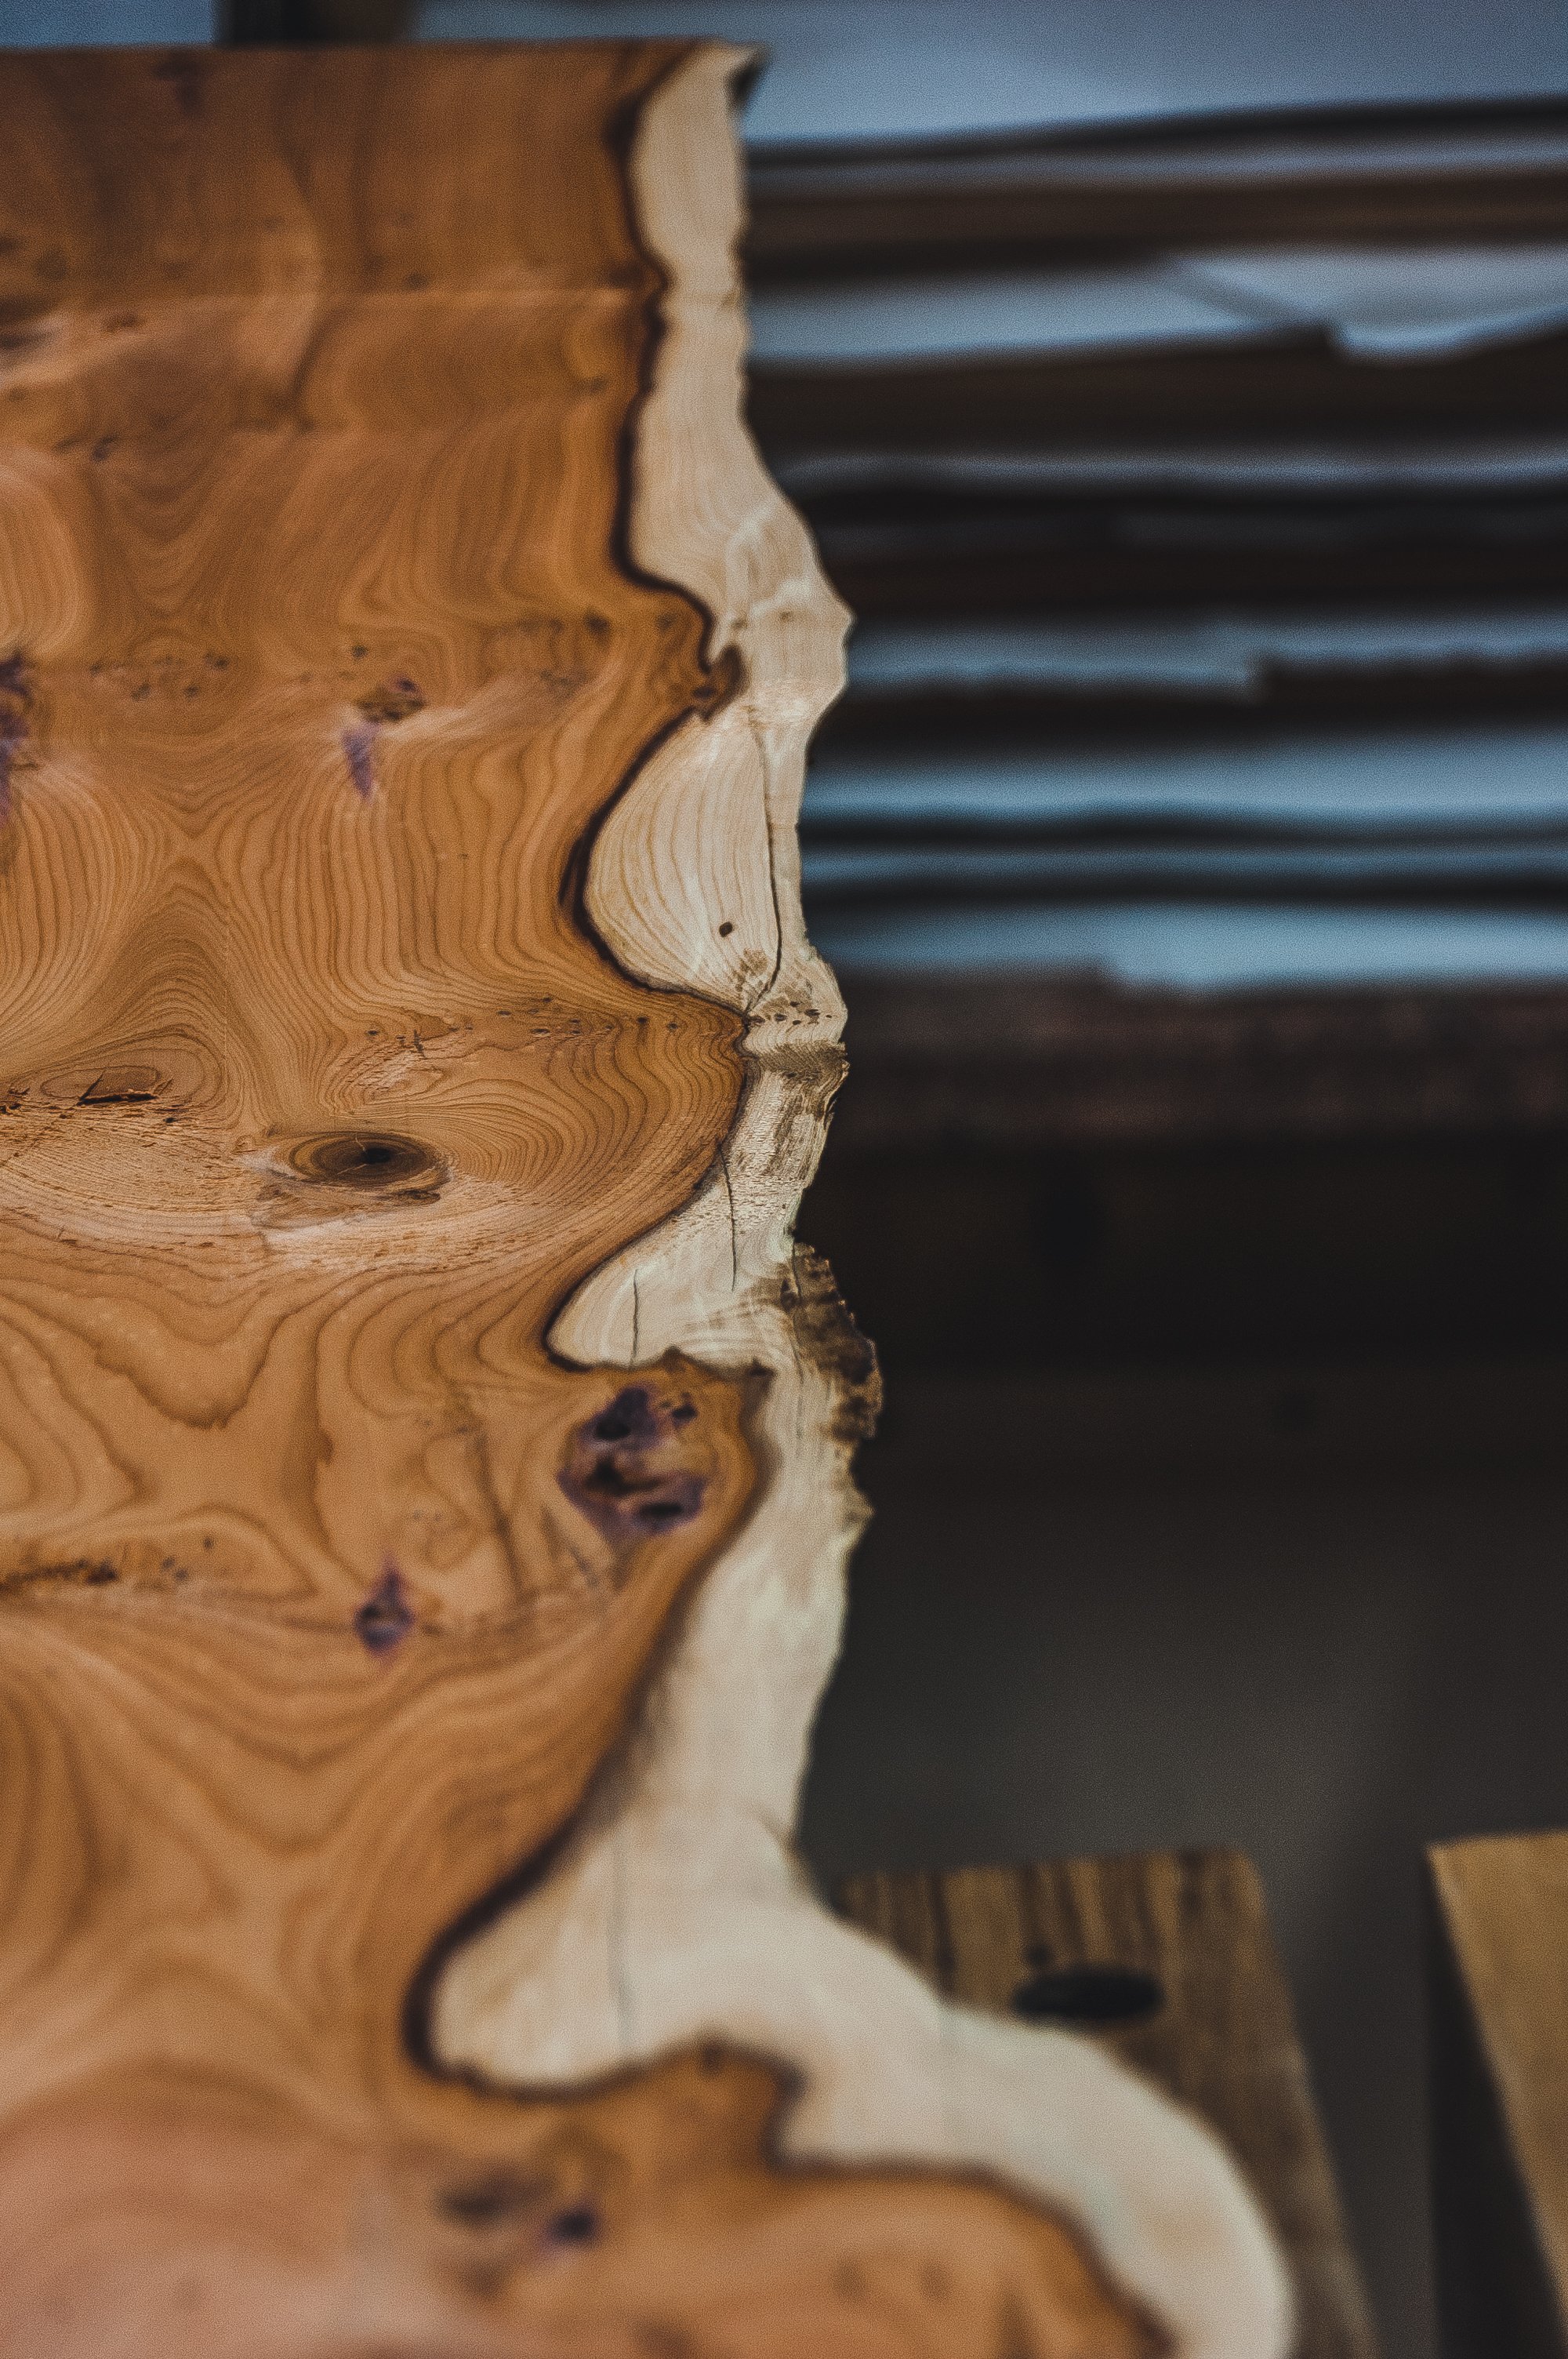
The heartwood is a light orange-red brown with white sapwood which some woodworkers use for contrast. It has a fine and even texture with grain that varies greatly from straight to wavey or interlocking. The tree is quite toxic, some species more than others, from the leaves and fruit to the bark which in todays modern medicine is developed into anti-cancer drugs. From a sustainability point of view certified European Yew is relatively rare; the tree is more commonly found in churches, parks and gardens than forests or woodlands.
The Making Process


First part of the timber preparation is to visually inspect the piece to check for any bow, twists and any defects that would cause problems. I had to deal with some particularly gnarly interlocking grain that I knew would give me some trouble. This piece while having a slight bow in it was pretty much twist free so I took it straight to the thickness planer where I planed it down to around 19mm. I had a few spots of tear out, nothing a cabinet scraper wouldn’t sort out.


After planing both sides i needed a straight edge to go against the wall and provide a reference point for marking out. This was achieved by drawing a straight line then using a bandsaw to cut to and then finally finishing off with a couple of passes on the jointer.
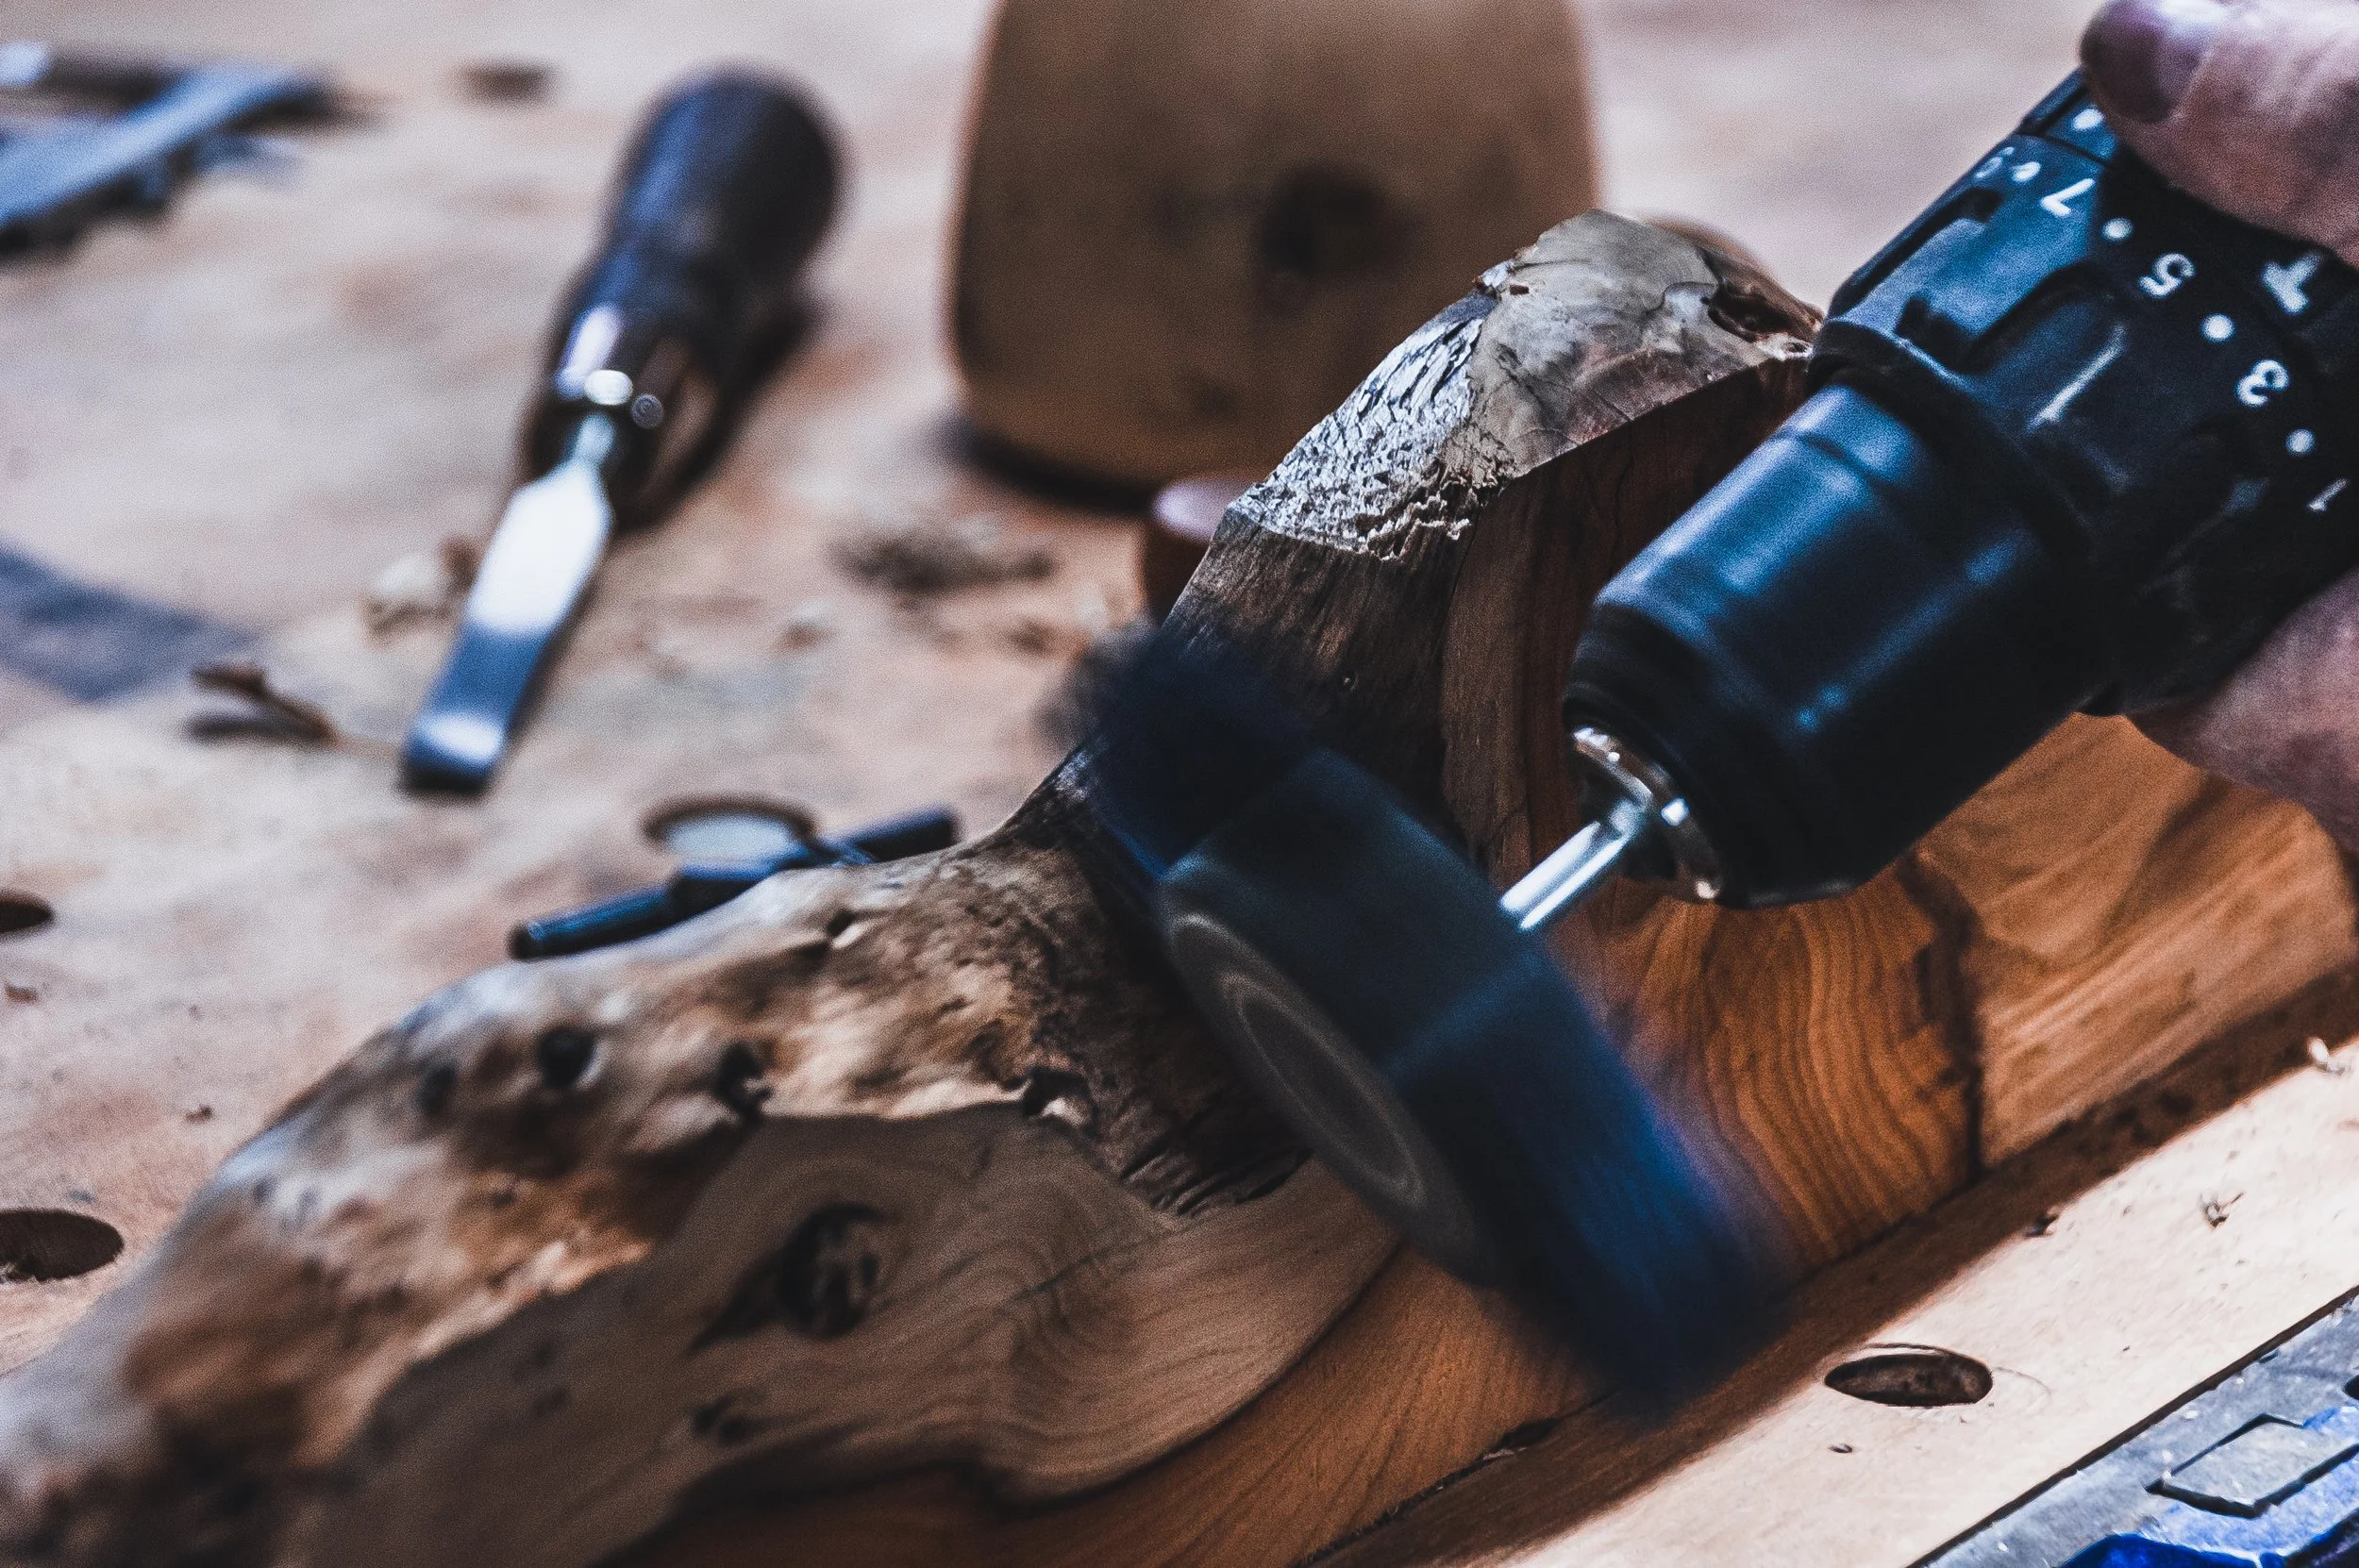


The next step was to deal with the Cambium. This is the section above the sapwood that would have been covered in the live bark of the tree. You may hear this as being called a live edge. Here i pulled off any loose bark and chiseled down any sharp sections. I then used a nylon brush mounted in a drill to remove any loose debris. I also cleaned up a few sections with a block plane where a chainsaw had trimmed some protruding branches.


After cutting the shelf to length, using a set of rasps, I shaped a profile on both ends finishing off with a few grits of sandpaper backed by some cardboard just to add some extra pressure to the paper when sanding.

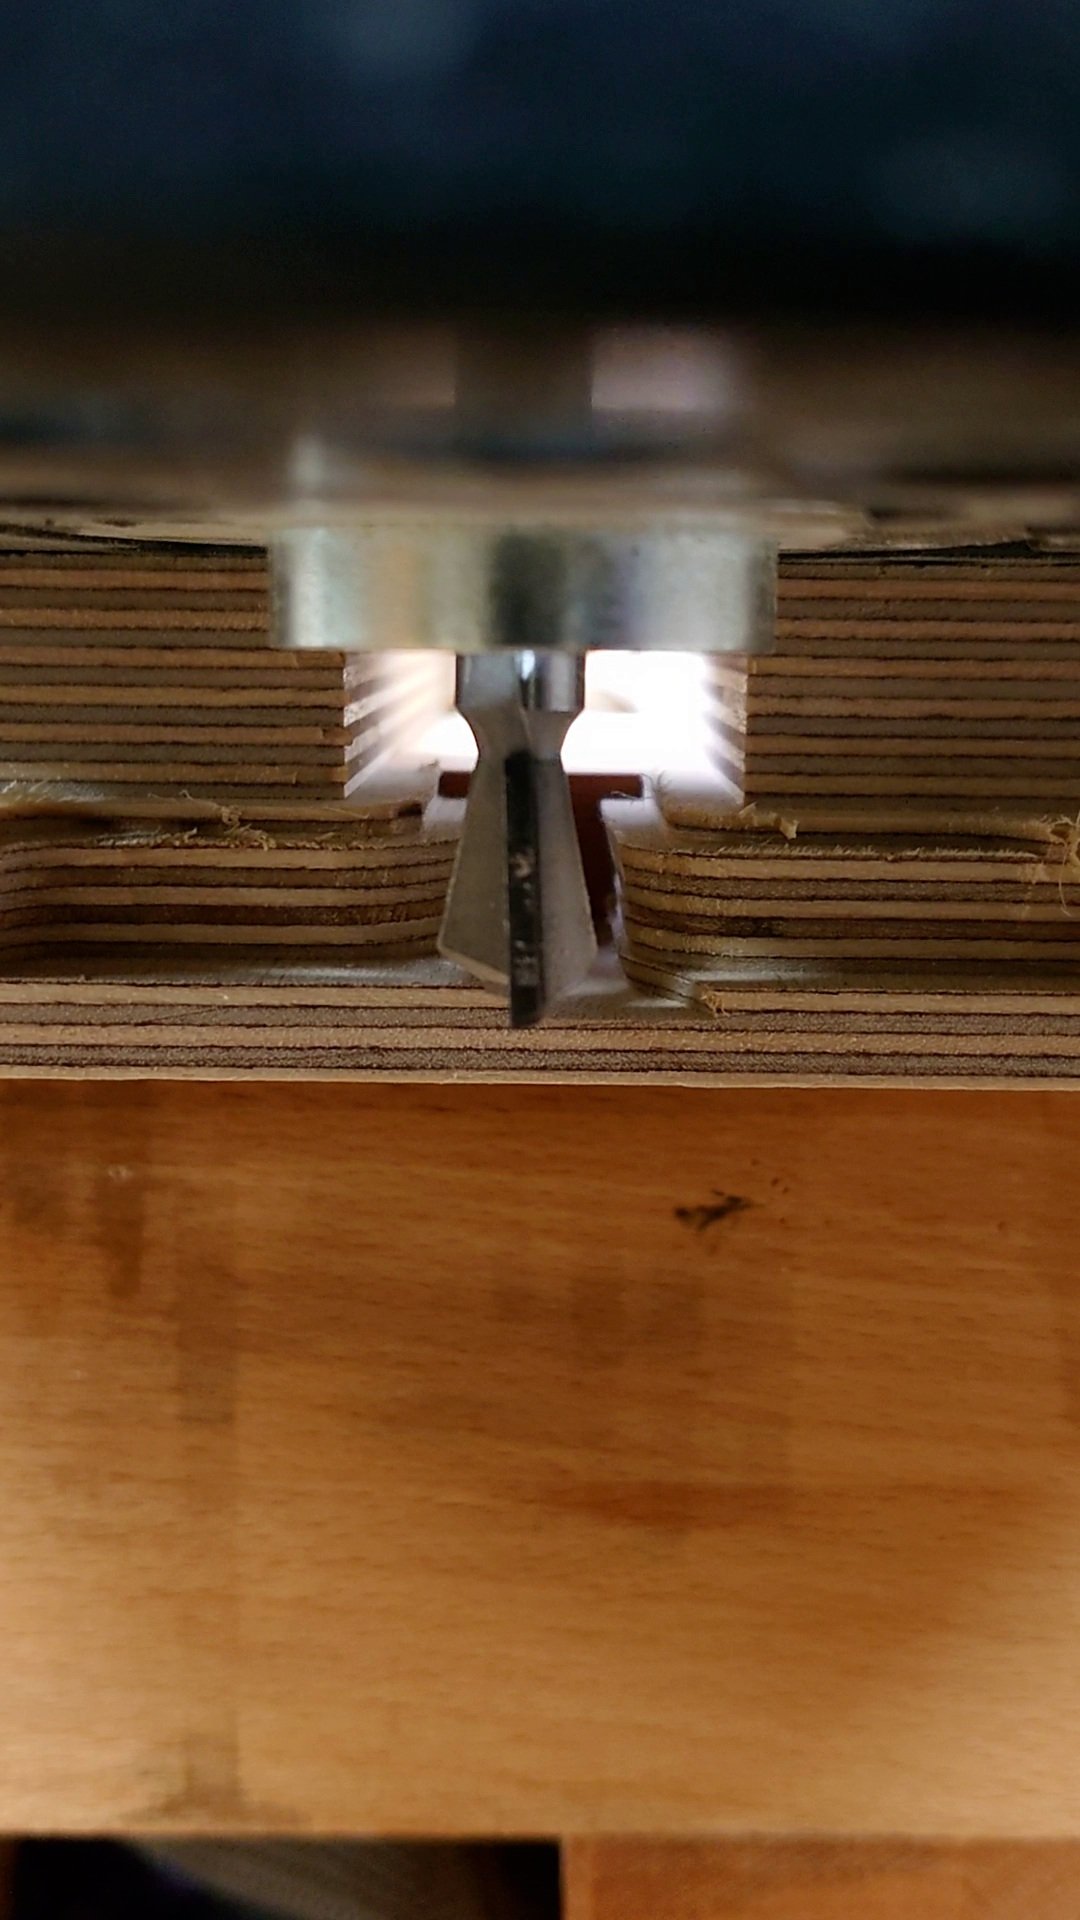


The next task was to make the sliding dovetails. For this I chose to use a dovetail bit in a router using a jig which relied on the guide bush. This ensured a neat uniform dovetail housing and with the jig meant it could be repeated with minimal setup for batch work should I need to. When the sliding dovetail sections were complete on the shelf the router bit was transfered to a router table setup and the corresponding pieces were machined.


The next stage of the construction is the frame which the shelf is attached to and would subsidquently be attached to the wall. I opted to use Ash simply because I had a small piece left over from a previous project that I could do something with.
Dovetails
The frame is constructed with traditional hand cut dovetails purely for asthetics but it does provide strength to the joints with the prospective of be able make wider shelves with support for future projects.
The dovetail joint probably pre dates written history. Some of the earliest known examples of the dovetail joint are in ancient Egyptian furniture entombed with mummies dating from First Dynasty, the tombs of Chinese emperors, and a stone pillar at the Vazhappally Maha Siva Temple in India. The dovetail design is an important method of distinguishing various periods of furniture
You may hear the dovetail joint refered to sometimes as a swallowtail joint, a culver tail joint (culver also means 'dove'), or a fantail joint.
The dovetail joint is very strong because of the way the 'tails' and 'pins' are shaped. This makes it difficult to pull the joint apart and virtually impossible when glue is added. This type of joint is used in box constructions such as drawers, jewellery boxes, cabinets and other pieces of furniture where strength is required. It is a difficult joint to make manually, requiring skilled workmanship.


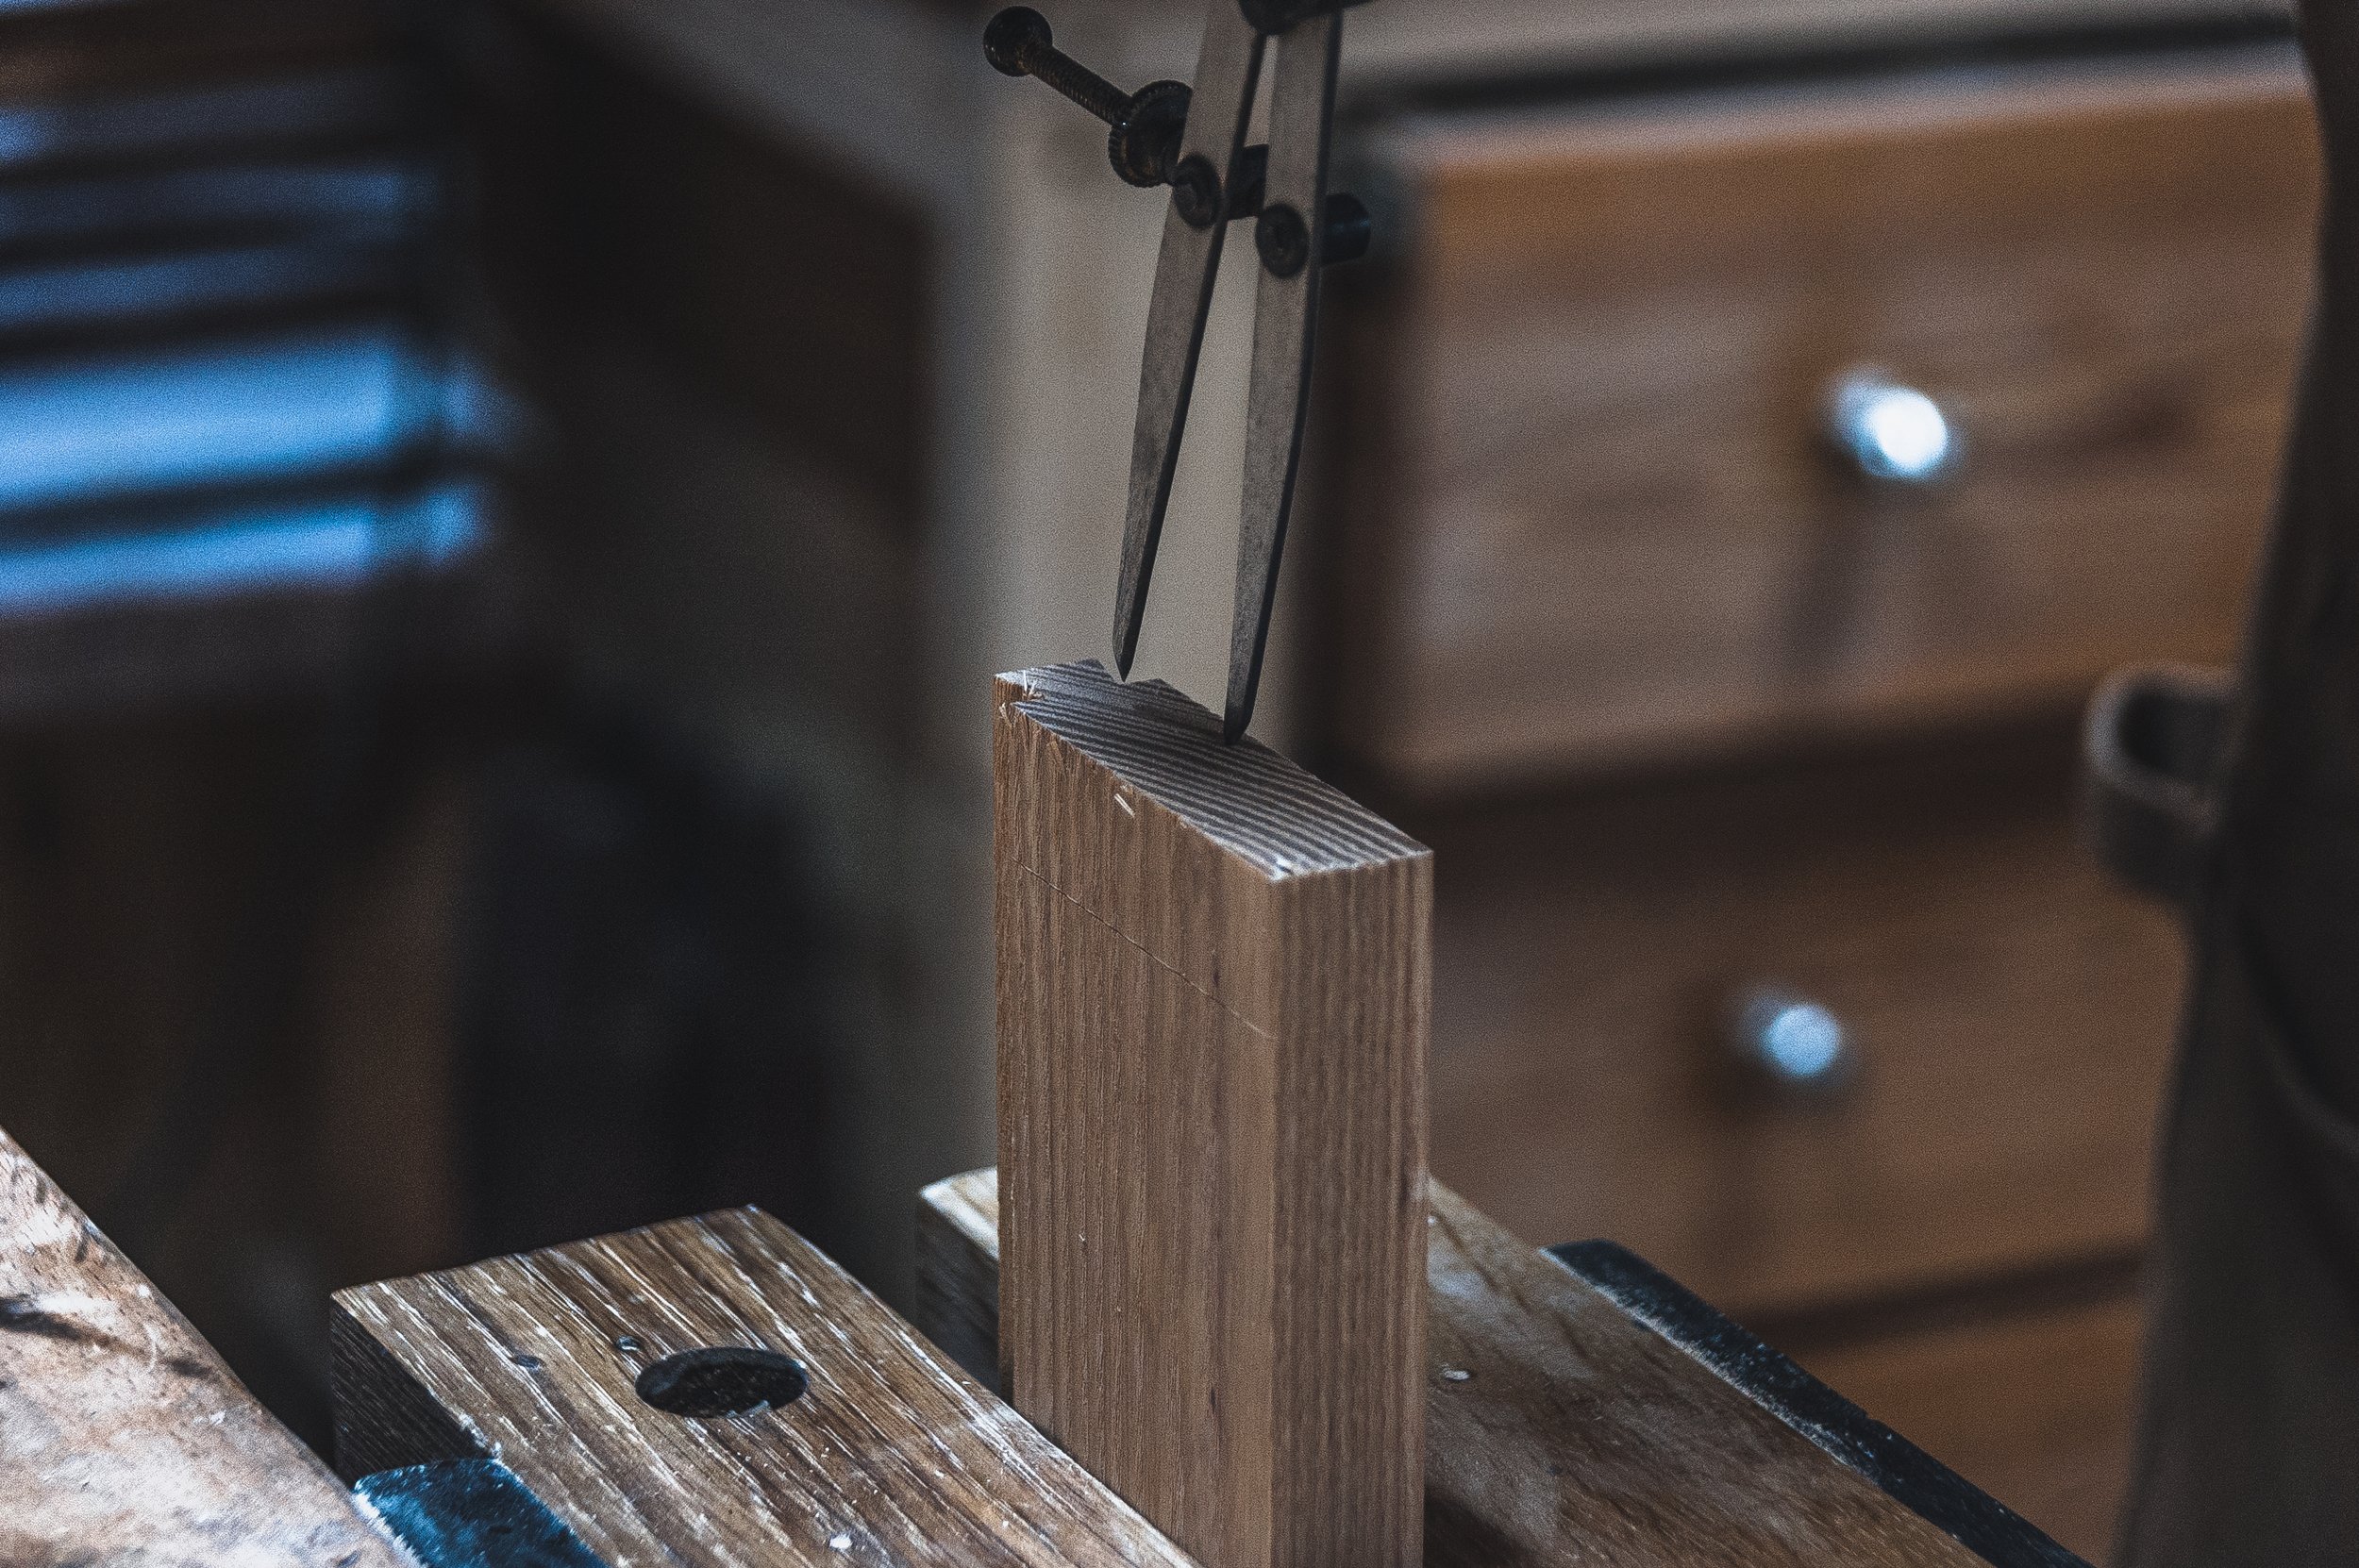


First step is to start with the tails. I start by setting up a scribing gauge the thickness of my back piece and scribing three sides on the tail pieces. I then use the dividers to mark out the width of my tails, in this case divided in to three. From here I use a shop made dovetail jig for marking my lines and angles which are marked off from the points made by the dividers.


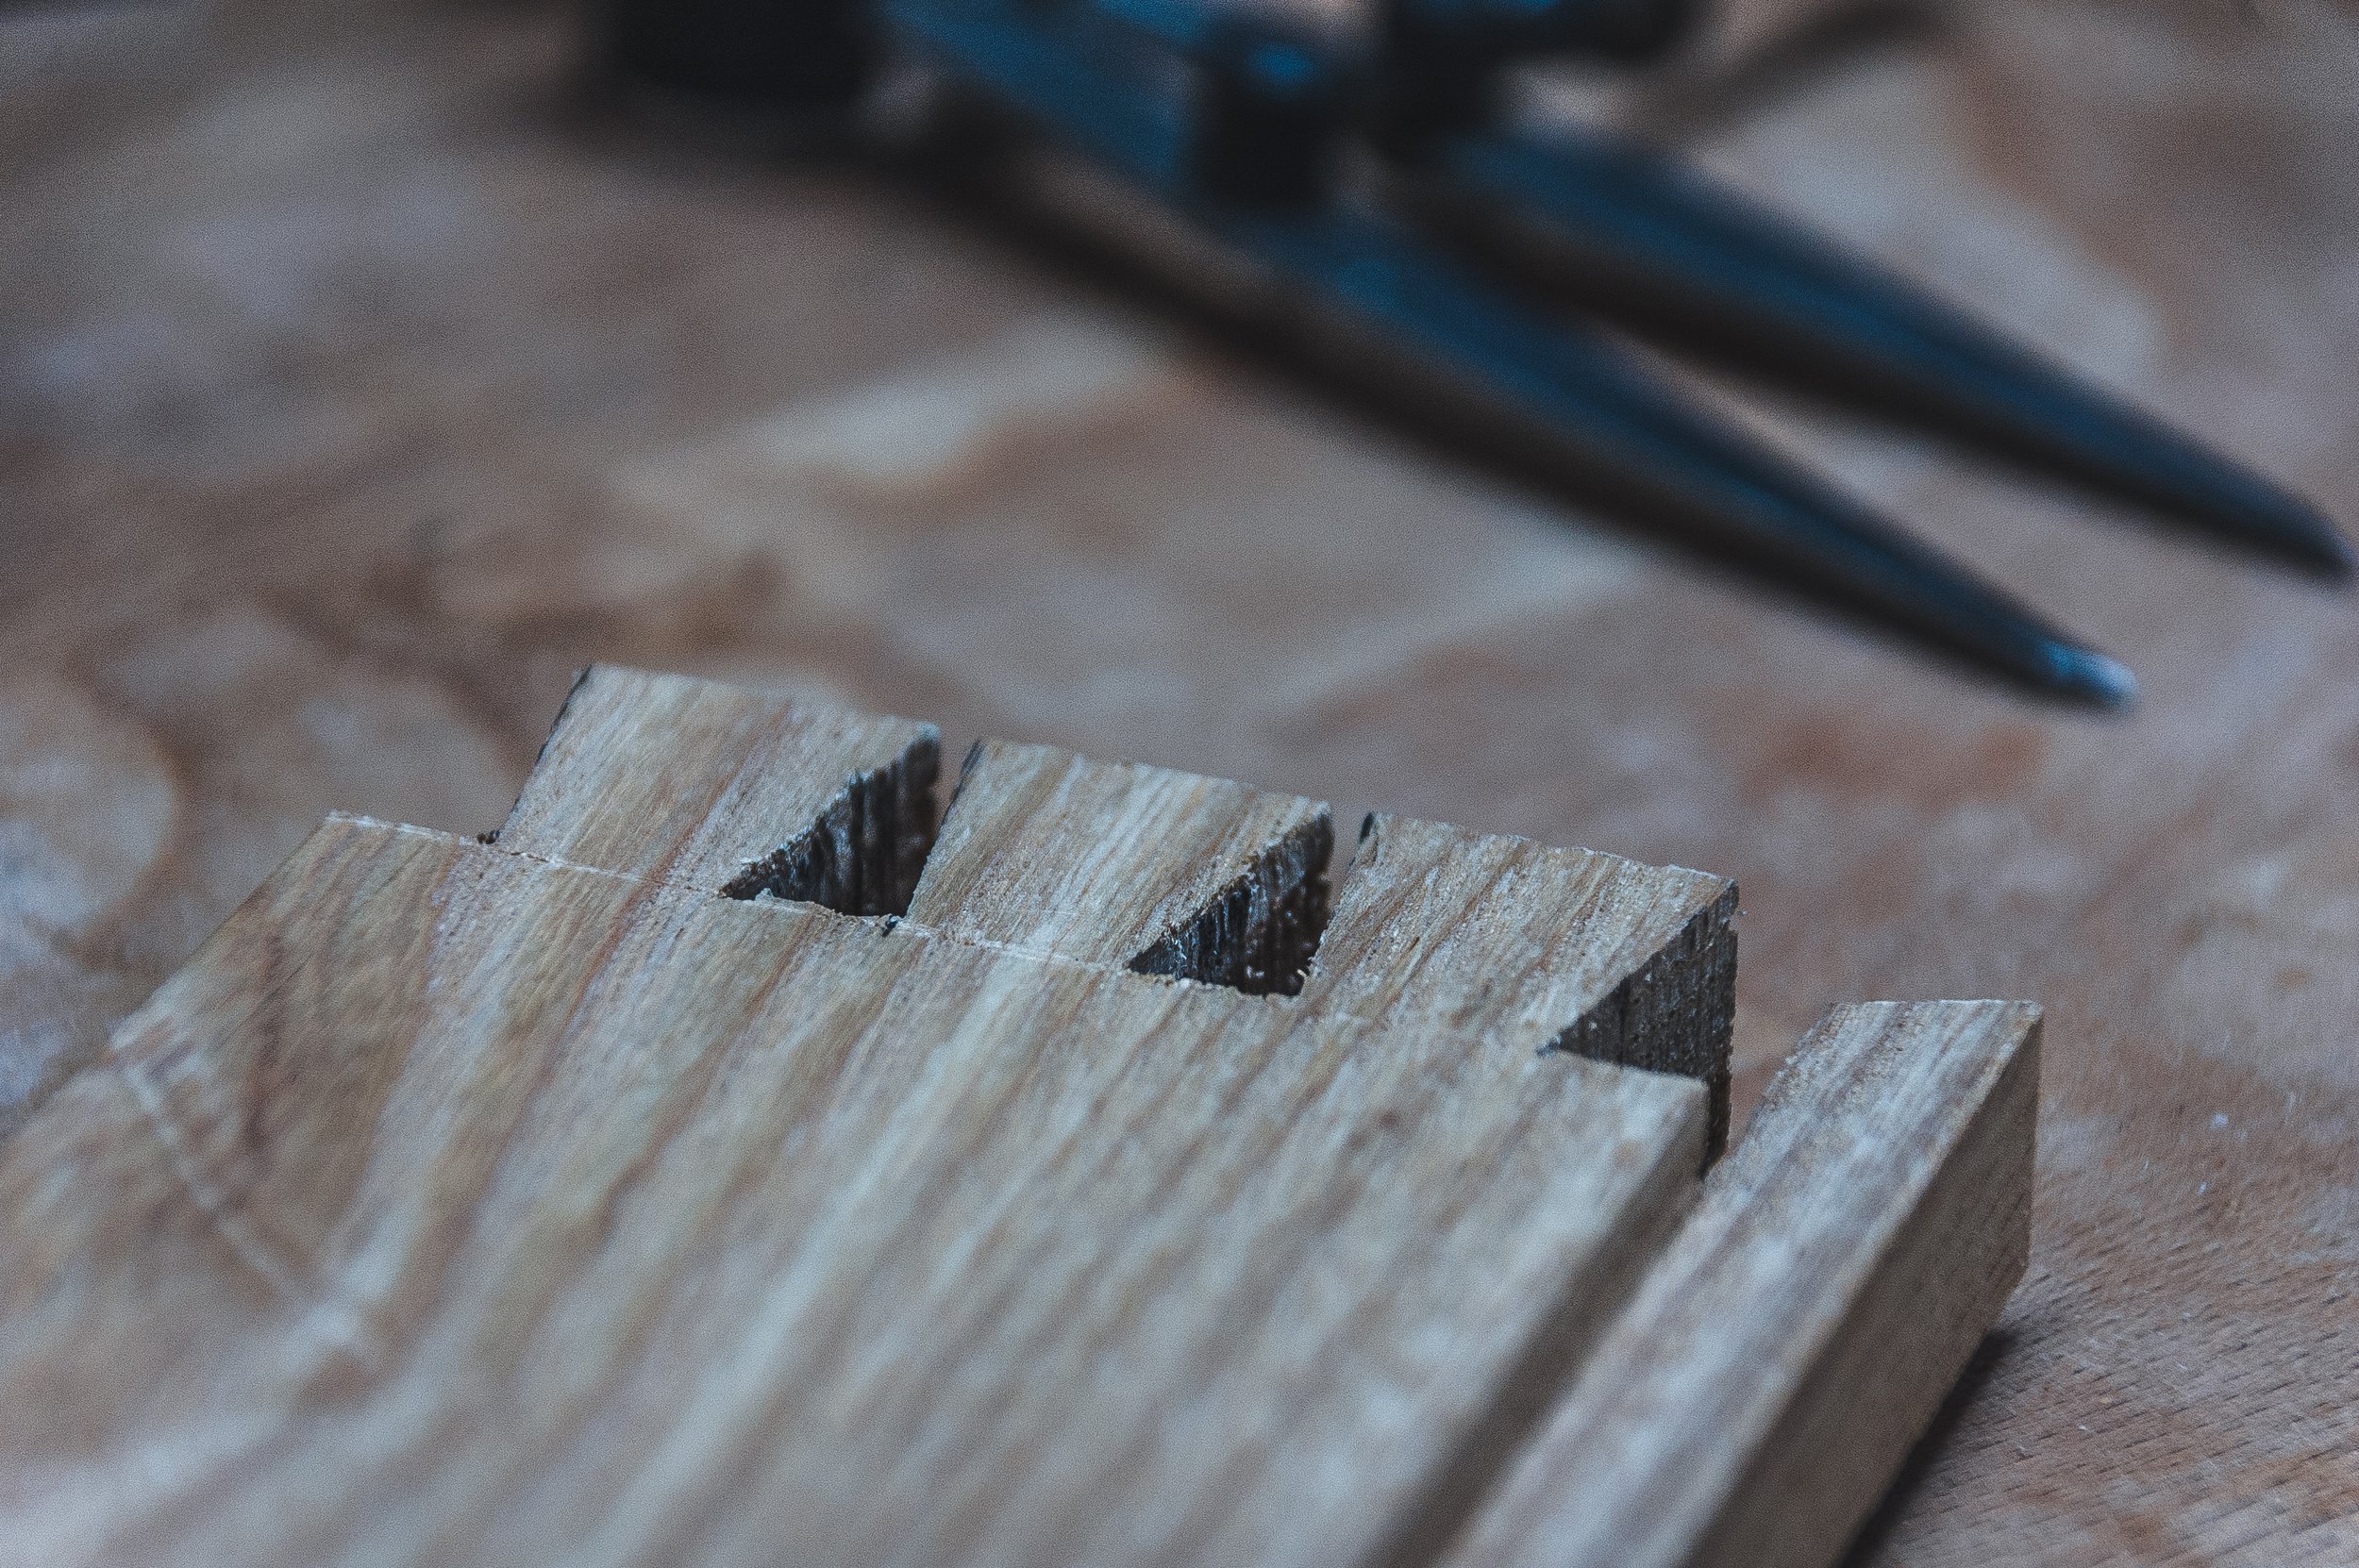

Next step is to cut the tails to my layout lines using a dovetails saw. The waste is removed using a coping saw then finally pared back using a sharp chisel with a clamped block that is 90º to the face of the tail board.


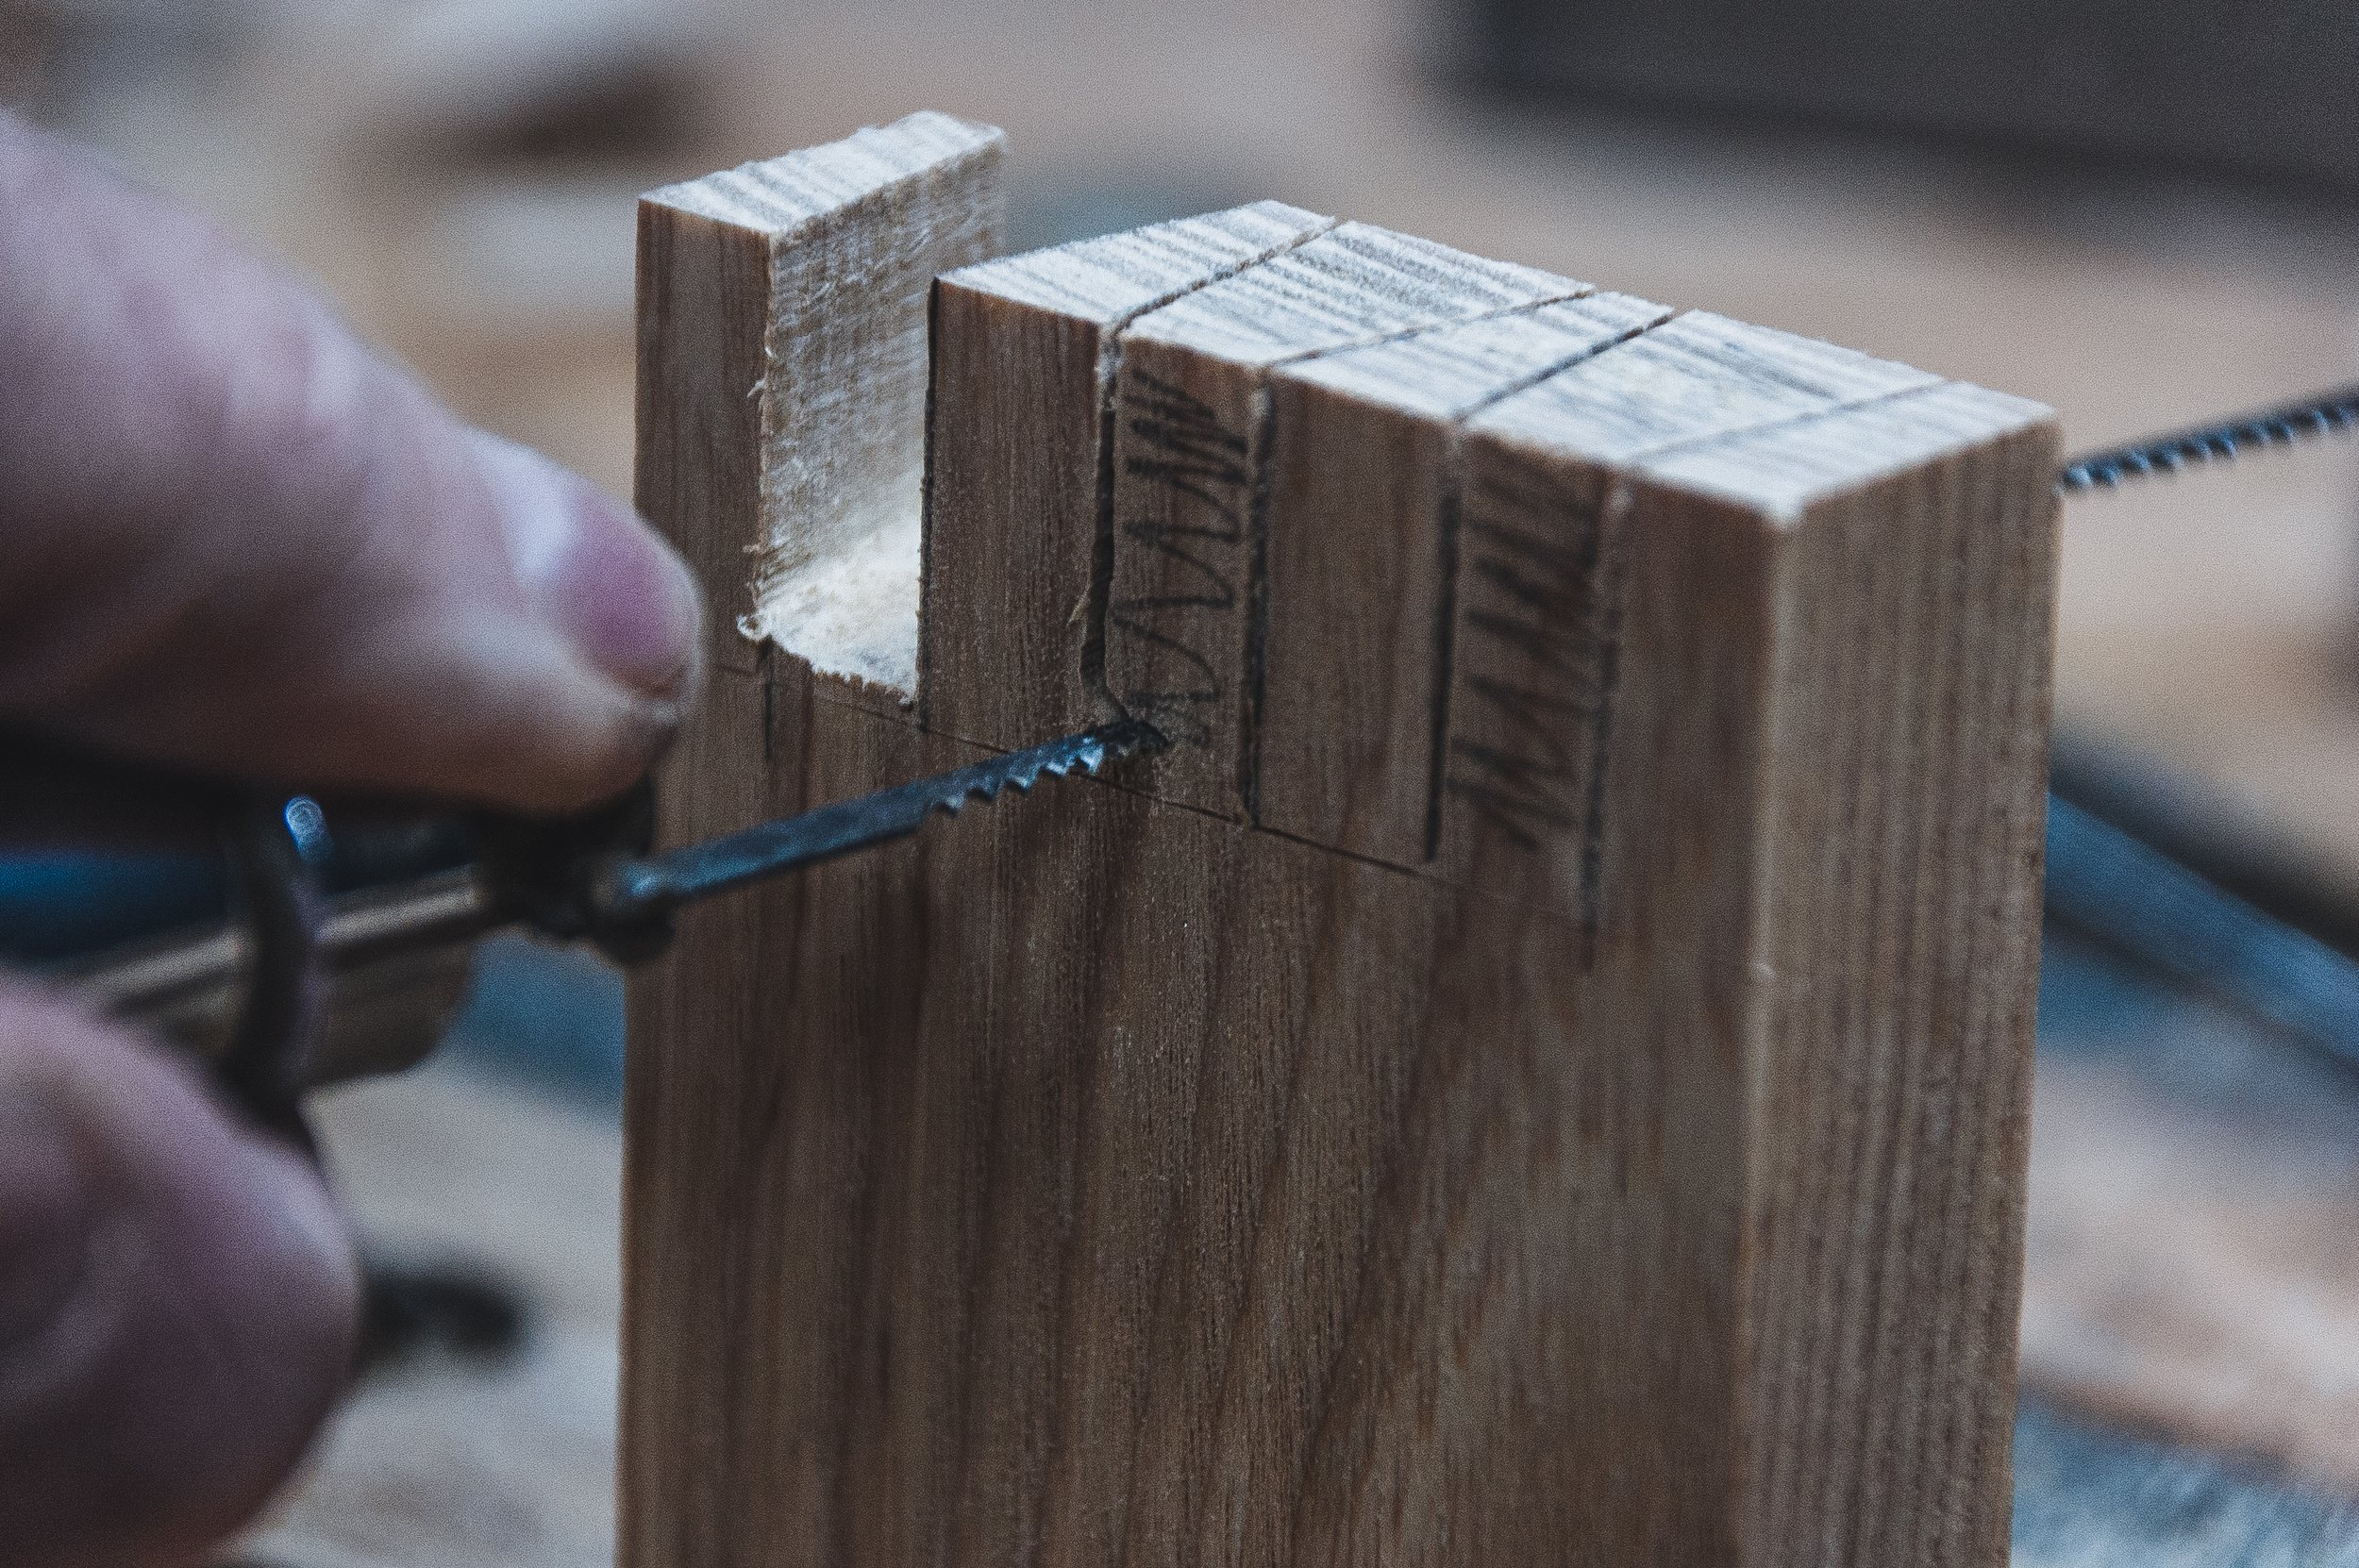


Next is to create the pins. First the tail board is placed in position and then marked using a marking knife. The marks are then transfered down to the scribe line using the dovetail marker. The dovetail saw is used to cut to the waste side of the line and the waste removed with a coping saw. Using a clamped block, the shoulders are pared back with a chisel. Fine adjustment is usually required on the pins to make sure I have a nice snug fit. When I am happy with the fit I sand the inside faces then prep for gluing up. I place masking tape on the internal corners as this makes cleaning up a little easier. When the glue has set I then using a hand plane to smooth out the dovetails followed by several grits of sanding.


Next stage is to drill some holes both for wall screws and also for plugs which will be used to cover the screws. The plugs are made by forming a dowel using a dowel plate, some lengths of Ash cut to slighter wider than the hole, then hammering the piece through the plate. The ends are rounded off using a special tool which I acquired many years ago. The plugs where made as a snug fit so they could easily be removed should the shelf need to moved in the future.


Final steps include sanding the shelf and frame with several grits of sandpaper, starting with 120 through to 320. The Yew I was using wasn’t in the best of shape so I decided to use a little clear resin to fill in any defects such as dead knots and some splits. After sanding, a few coats of a hard-wax oil was applied to both the shelf and the frame.


